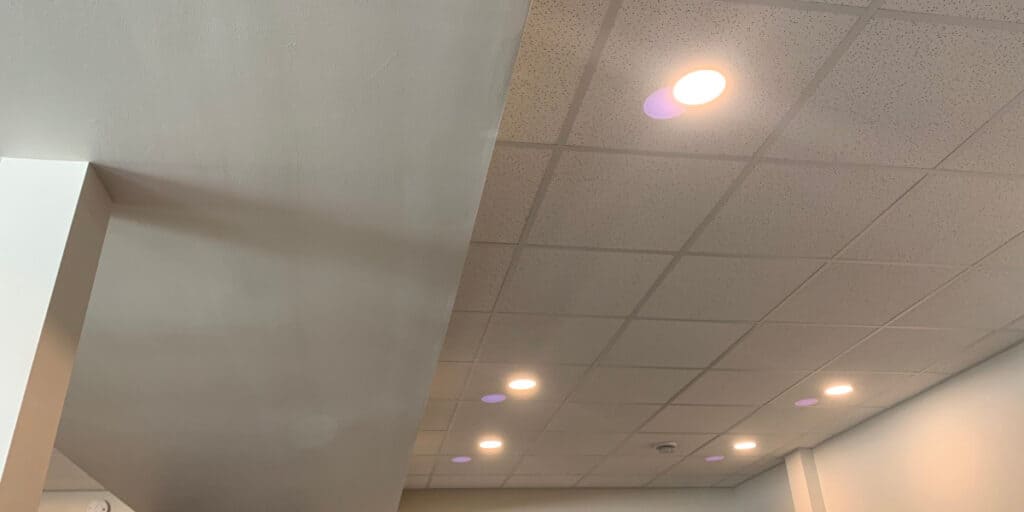
Do you want to sand drywall without getting in your face with dust? Sanding is an essential step before painting your walls. There are several ways to make this process more simple, less messy, or even more efficient. With the right tools and some tips, it can all be done smoothly.
A dustless sanding tool can be a time-saver, whether you are working on a small project or a major remodeling job. This tool, unlike other sanding systems allows you to work with both vertical and horizontal surfaces. The tool also has a 6-foot hose, and an angle-adjustable sanding head. Sand&Kleen is a great way to save time and reduce clean-up. This system is available at Menards and other retail stores. They come with a lifetime guarantee.
If you're sanding on a damp area, a respirator might be required. To avoid dust exposure, it should be changed approximately every half an hours. A hat is also recommended for protection. This will keep dust out of your eyes and prevent you from becoming a health risk.
When sanding, don't use too many pressure. You can damage your drywall by sanding too hard. To avoid this, start with a light touch. Keep the corners sanded to within a few inches.
Joint compound can be used to fill in any gouges and gaps created by the sanding process. This compound, unlike drywall repair pastey, is less likely than other compounds to cause problems. You can also use this compound to obscure the edges of joints.
A drop cloth is another way to reduce dust. Hyde Tools offers a dustless Sanding Attachment. These tools are designed to remove drywall dust from the work area. The heavy-duty sanding heads can be used at all angles thanks to their swiveling design.
A dustless sanding attachment is one of the most convenient ways to sand drywall. But it can be noisy and expensive. You should also consider investing in a vacuum to clean up. Even if you have the best vacuum, a filter is essential to catch fine particles. The risk of dust re-introduction into the atmosphere, which could lead to allergies, is possible.
120-grit sandpaper has the best results for drywall sanding. You can buy pre-cut sheets of fine-grit paper. Be sure to use a clamp to hold the sandpaper in place before you start sanding.
If you're sanding your walls with a traditional sander, be sure to check for any air ducts, screens, and doorways before you start. To reduce dust buildup, you can use a box fan to ventilate your room. You should seal all doors and windows to keep dust out.
Sanding is a part of every project. But it's not the easiest. It's possible to get help and speed up the process without getting frustrated.
FAQ
Are permits necessary to renovate my property?
Yes, you will need permits before starting any home improvement project. In most cases, you will need a building permit and a plumbing permit. A zoning permit is also required depending on the type and extent of work you are performing.
In what order should home renovations be done?
When renovating your home, the first thing to do is decide where everything should go. If you're planning on selling your home soon, it is important to consider how you wish to present your home for potential buyers. Next, you should start thinking about the design of your kitchen, bathroom, living room, etc. After you've decided on the rooms that you wish to renovate, it is time to start searching for contractors who are experts in these areas. After you have hired a contractor to work on your project, it is time to get started.
What room do I need to remodel first?
The heart and soul of any home is the kitchen. It's where most people spend their time cooking, entertaining and relaxing. So if you are looking for ways to make your kitchen more functional and attractive, start there!
The bathroom is also an important part of any home. It offers privacy and comfort for daily chores such as washing your hair, brushing your teeth, shaving, or getting ready to go to bed. Consider adding storage to these rooms and installing a tub instead of a bathtub. You may also want to replace old fixtures with modern ones.
Are you able to live in a renovated house?
Yes, you can live in your house while you renovate it.
Can you live in a house while renovations are going on? The time taken to complete the work will impact the answer. If the renovation takes less than two months, then you can live in your house while it is being built. If the renovation takes longer than two weeks, however, you can't live in your home during the construction.
The reason why you should not live in your home when there is a major construction project going on is because you might get hurt or even killed due to falling objects from the building site. You could also suffer from noise pollution and dust caused by the heavy machinery used on the job site.
This is especially true for multi-story houses. If this happens, the sound and vibration caused by the construction workers can cause significant damage to your home and contents.
You'll also need to cope with the inconvenience of living in temporary housing while your house is being renovated. This means that you won't have access to all the amenities that come with your own home.
You won't be allowed to use your dryer or washing machine while they are being repaired. Additionally, the smell of paint fumes or other chemicals will be a constant annoyance as well as the banging sound made by workers.
All these factors can lead to stress and anxiety among you and your family members. You should plan ahead to avoid feeling overwhelmed by this situation.
Do your research before you begin renovating your home. You can avoid costly mistakes later.
You should also seek professional help from a reputable contractor to ensure everything runs smoothly.
Statistics
- A final payment of, say, 5% to 10% will be due when the space is livable and usable (your contract probably will say "substantial completion"). (kiplinger.com)
- On jumbo loans of more than $636,150, you'll be able to borrow up to 80% of the home's completed value. (kiplinger.com)
- Design-builders may ask for a down payment of up to 25% or 33% of the job cost, says the NARI. (kiplinger.com)
- It is advisable, however, to have a contingency of 10–20 per cent to allow for the unexpected expenses that can arise when renovating older homes. (realhomes.com)
- Most lenders will lend you up to 75% or 80% of the appraised value of your home, but some will go higher. (kiplinger.com)
External Links
How To
How can I plan a complete house remodel?
It takes careful planning and research to plan a complete house remodel. Before you begin your project, there are many things to think about. You must first decide what type home improvement you want. There are several categories you can choose from, such as bathroom, kitchen, bedroom, living area, and so on. Once you've chosen the category you want, you need to decide how much money to put towards your project. If you have never worked on homes, it is best to budget at most $5,000 per room. If you have more experience, you might be able spend less.
Once you know how much money your budget allows you to spend, then you will need to decide how big a job it is you are willing to take on. A small kitchen remodel will not allow you to install new flooring, paint the walls, or replace countertops. On the other side, if your budget allows for a full renovation of your kitchen, you'll be able do just about any task.
The next step is to find a contractor who specializes in the type of project you want to take on. You'll get high-quality results and save yourself lots of headaches down the line. After finding a good contractor, you should start gathering materials and supplies. You might need to make everything from scratch depending upon the size of your project. You shouldn't have any trouble finding the right item in pre-made stores.
Once you've collected all the materials you will need, you can begin to plan. To begin, draw a sketch of where you would like to place furniture or appliances. Next, design the layout of your rooms. It is important to allow for electrical and plumbing outlets. Visitors will be able to easily reach the areas that are most frequently used near the front doors. Last, choose the colors and finishes that you want to finish your design. In order to avoid spending too much money, stick to neutral tones and simple designs.
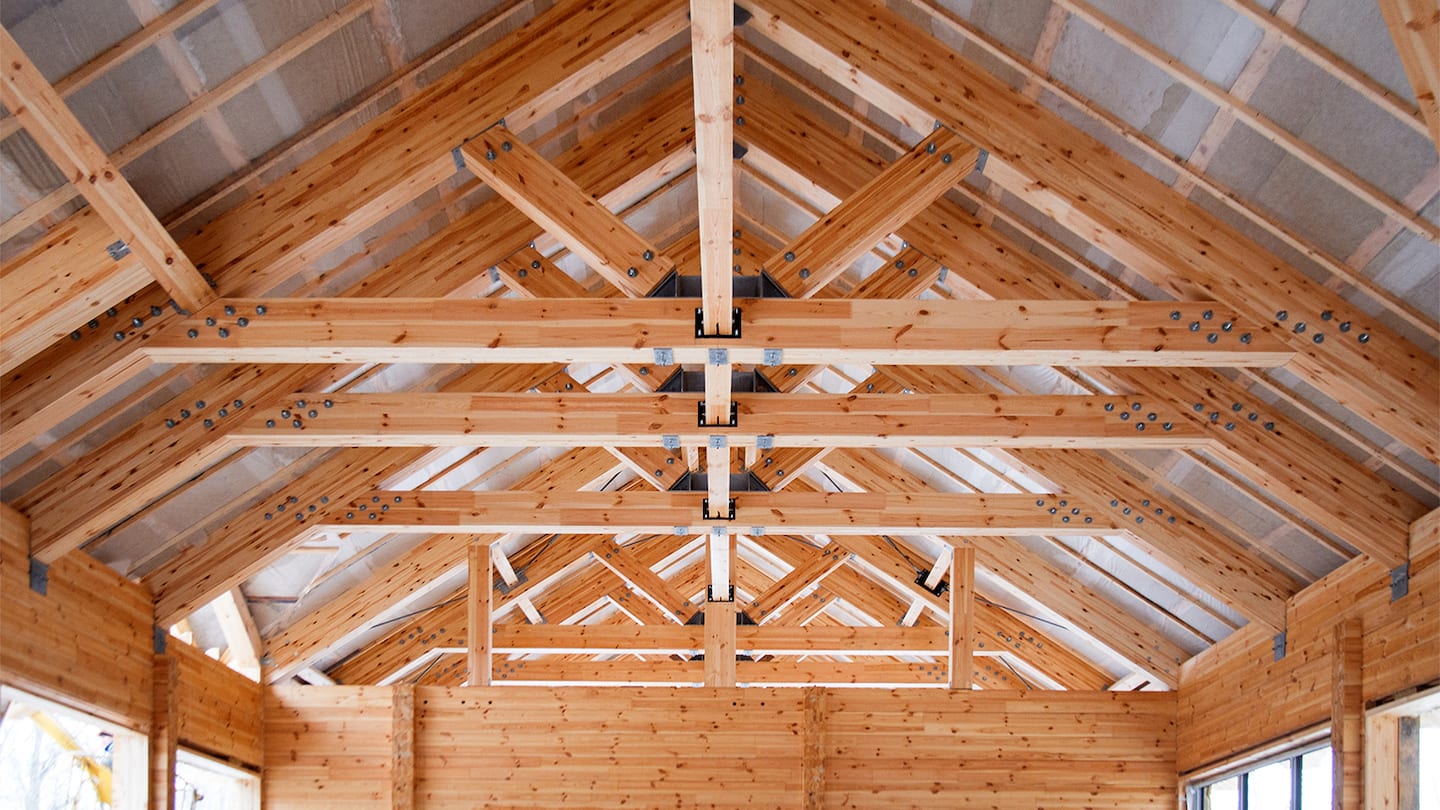
Now that your plan is complete, it's time you start building! Before you start any construction, be sure to check the local codes. Some cities require permits. Others allow homeowners to build without permits. Before you can begin construction, remove any walls and floors. Next, you'll lay down plywood sheets to protect your new flooring surfaces. Next, nail or screw pieces of wood together to form the frame that will house your cabinets. Lastly, you'll attach doors and windows to the frame.
There will be some finishing touches after you are done. For example, you'll probably want to cover exposed pipes and wires. This can be done with plastic sheeting and tape. It's also a good idea to hang mirrors and photos. You should always keep your work area clean.
This guide will show you how to create a functional, beautiful home. It will also save you a lot of money. Now that you are familiar with how to plan a whole home remodel project, it is time to get started.